Introduction:
Welcome to my weekly walkthrough! If you’ve stumbled across this blog while looking for a detailed guide to the HTTP Basic Auth blue team challenge from LetsDefend, you’re in the right place.
For this challenge, we’re putting on our incident response hats and investigating a potential attack against a web server. We’re handed a single network packet capture (.pcap) file, and it’s up to us to figure out what’s going on. With a little targeted filtering and analysis, we’ll identify HTTP Basic Authentication traffic, enumerate details about the web server and client, and ultimately recover the credentials used during the authentication process.
This challenge is a fun introduction to Wireshark and packet analysis. During this investigation, we’ll learn how to efficiently filter network traffic, inspect HTTP streams, extract useful information from request and response headers, and follow the evidence wherever it leads. While the investigation itself is straightforward, it introduces several concepts that blue teamers encounter regularly when analyzing web traffic and investigating suspicious activity.
I’ll walk through each step clearly, explain the thought process behind the investigation, and show how each piece of information contributes to the final answer. By the end, you’ll have a solid understanding of how to approach similar packet capture investigations in the real world!
Sounds like fun, right? Let’s go!
Thanks for reading and coming along on this investigation with me!
This write-up is for educational purposes only. All intellectual property related to the challenge belongs to the respective owners LetsDefend
Challenge Scenario:
We receive a log indicating a possible attack, can you gather information from the .pcap file?
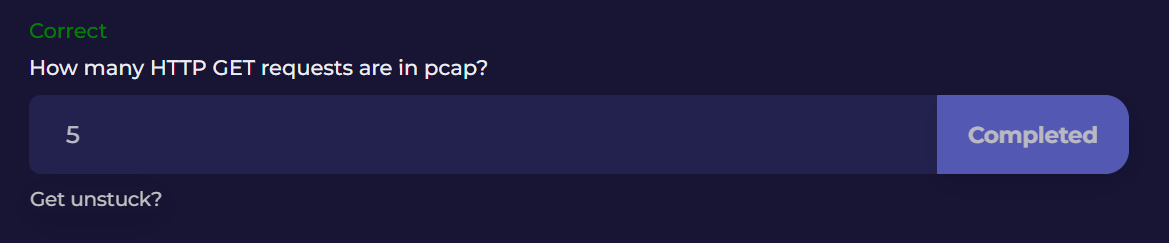
Question 1: How many HTTP GET requests are in pcap?
Let’s waste no time and jump right in. Our first order of business is to examine the challenge file, webserver.em0.pcap.
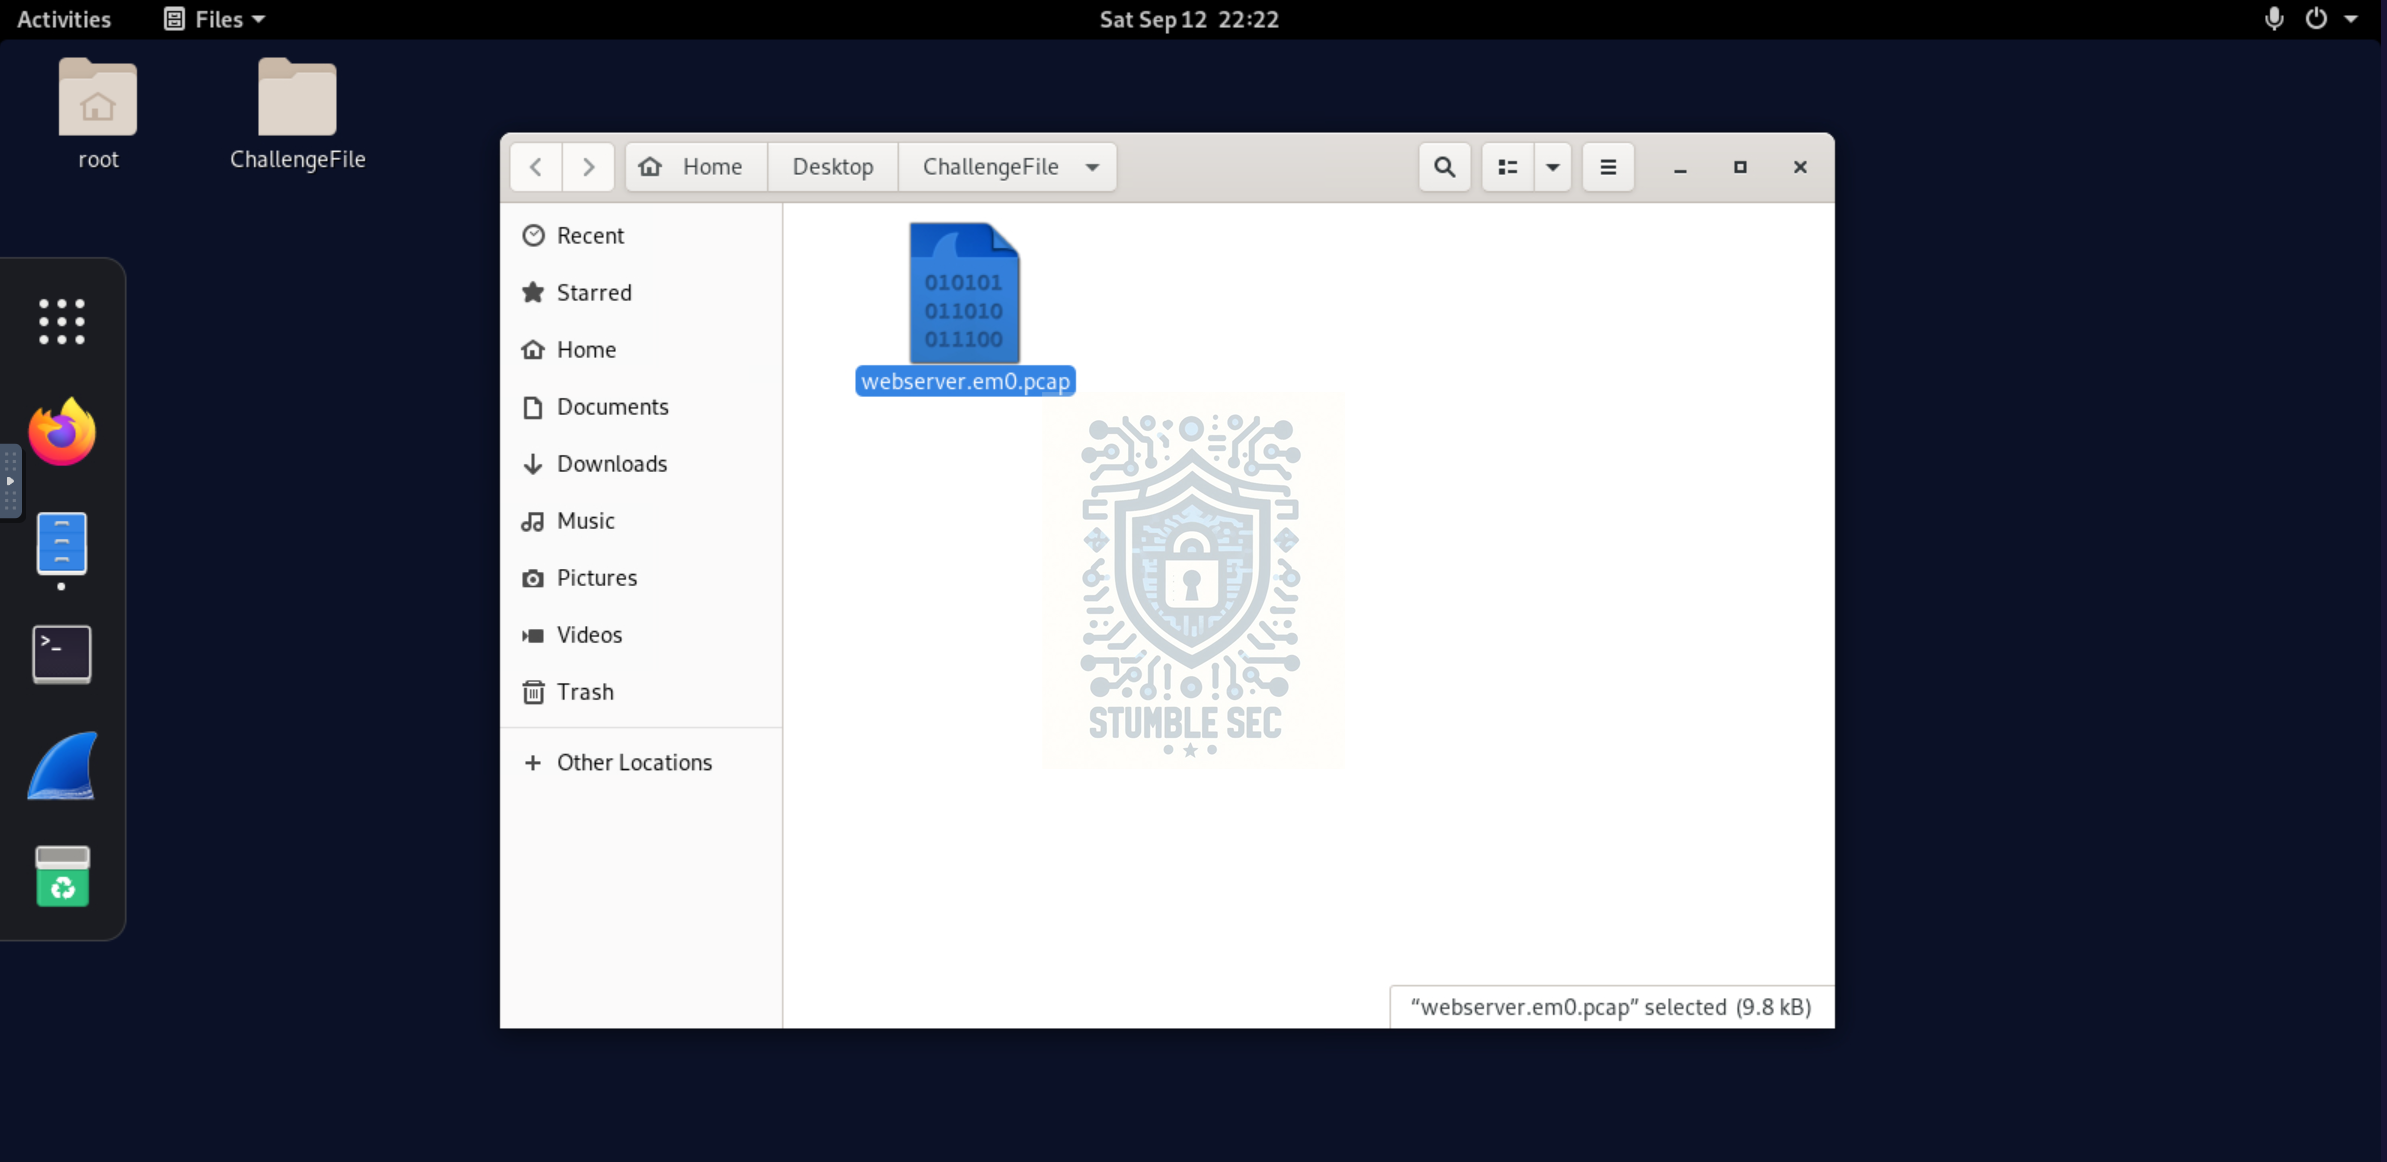 Overview of the challenge artifact
This is a network packet capture file that can be opened with Wireshark, which is already installed and ready to go in the LetsDefend VM.
Once the pcap is opened in Wireshark, our objective is to determine how many HTTP GET requests are contained within the packet data. We can apply a straightforward display filter to identify the number of HTTP GET requests:
http.request.method == "GET"
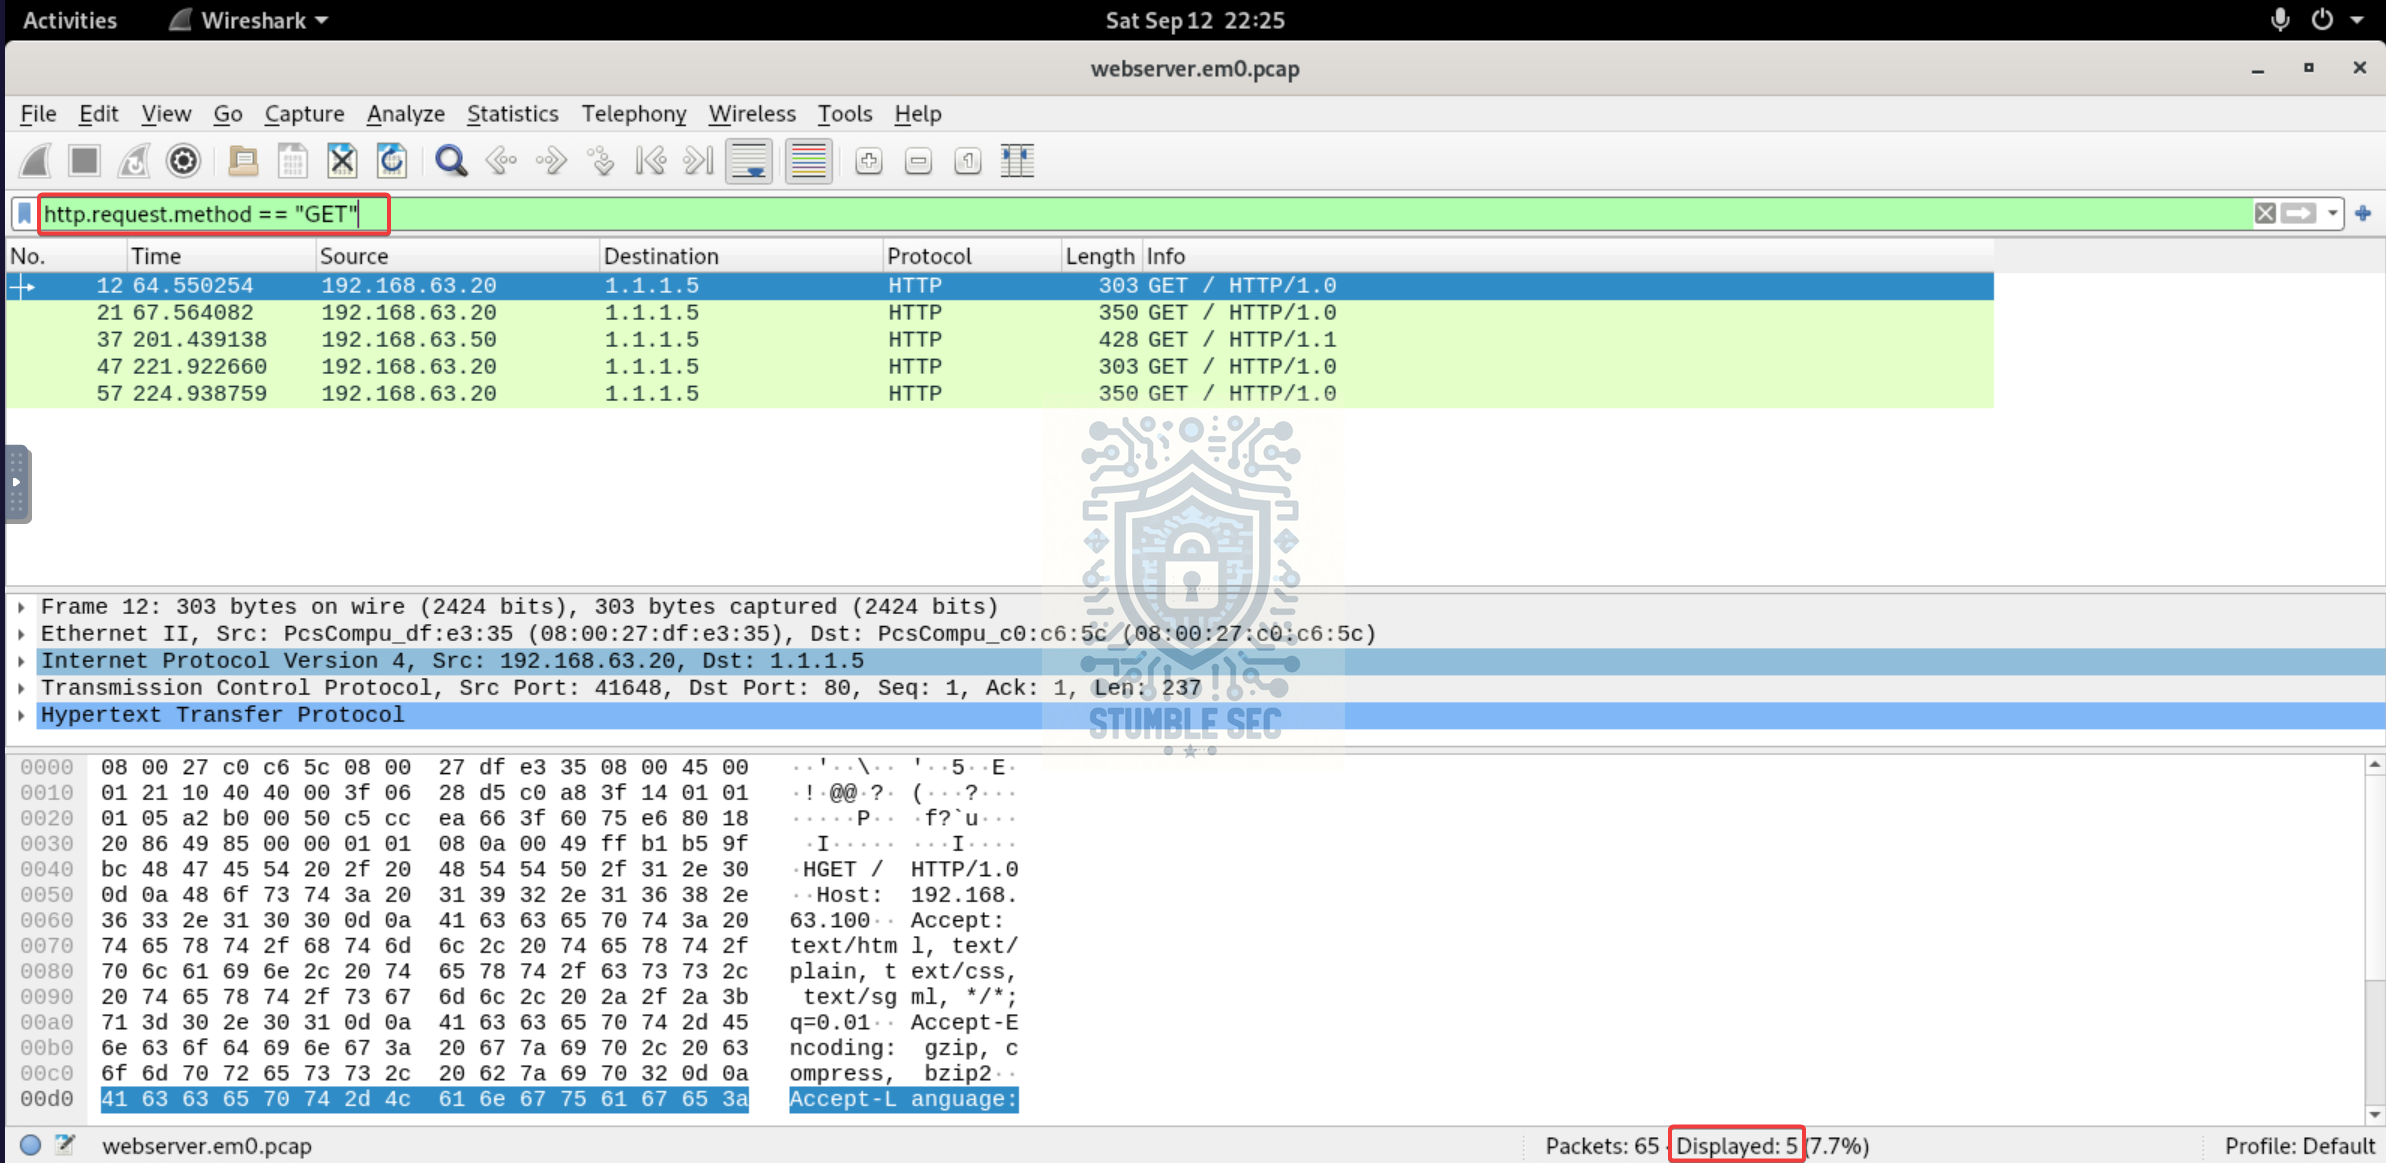 Wireshark: Identifying the number of HTTP GET requests
With the filter applied, we can see that there are a total of five packets matching the filter. This gives us a good starting point as we begin identifying HTTP traffic between the client and the web server.
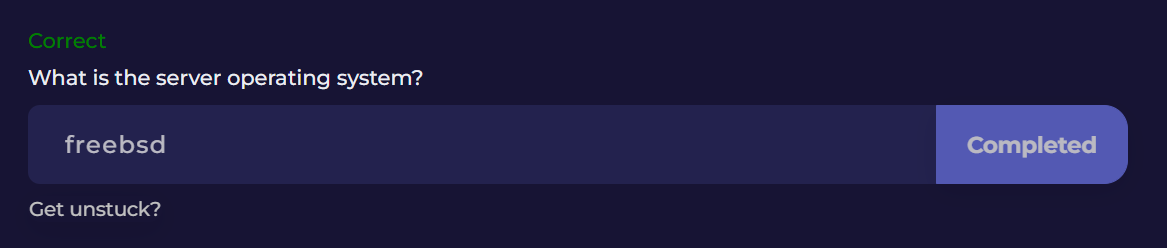
Question 2: What is the server operating system?
Now that we’ve identified the GET requests, let’s dive into the HTTP stream to see what other information we can uncover.
First, select the first packet in the list (packet 12), right-click, and select Follow > HTTP Stream.
This allows us to view the request and response headers exchanged during the session. To identify the server operating system, we can examine the Server header. In this case, we’re interested in the underlying operating system rather than the web server application itself, which is Apache.
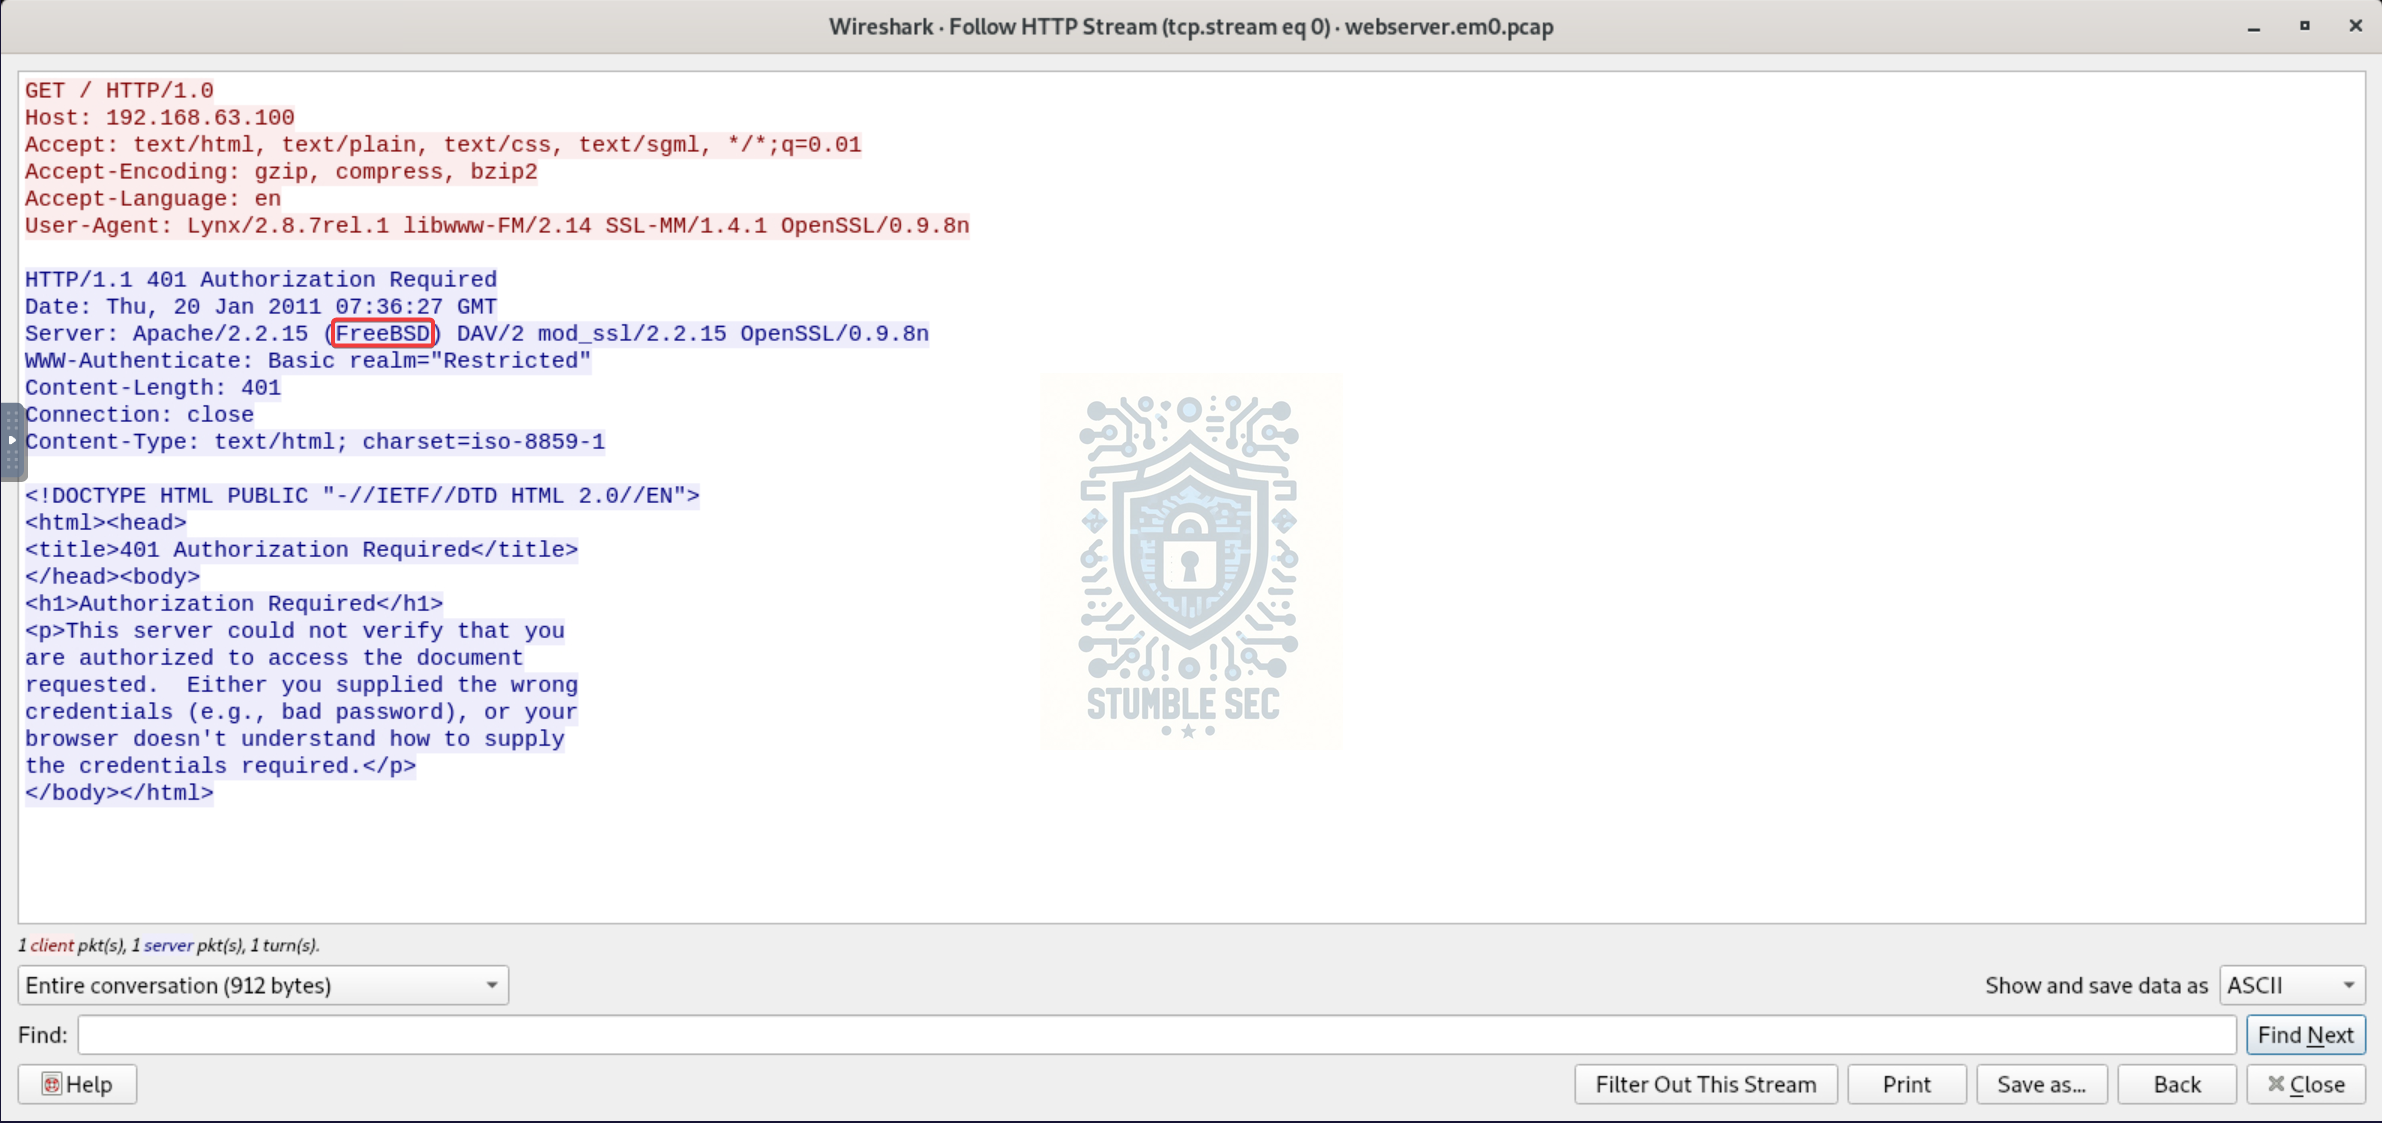 Wireshark: Identifying the server operating system in the HTTP stream
This can help us determine what operating system is running beneath the web server and may provide useful context if we need to identify vulnerabilities that could affect the host.
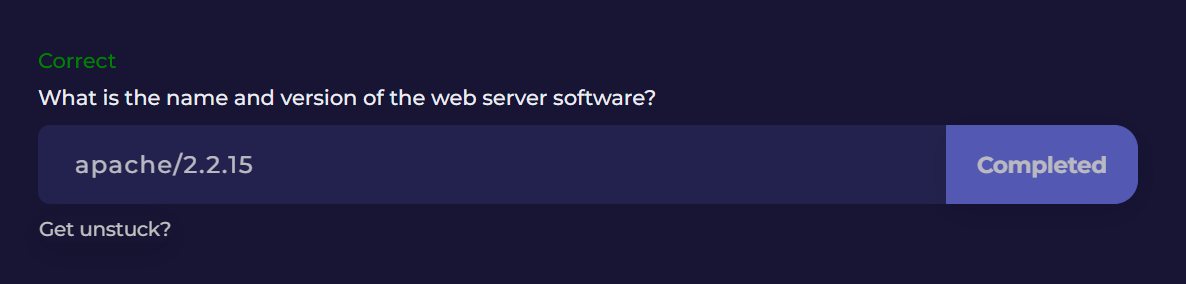
Question 3: What is the name and version of the web server software?
Speaking of Apache, to answer Question 3, we’ll use the web server information reported in the Server header that we examined in the previous question.
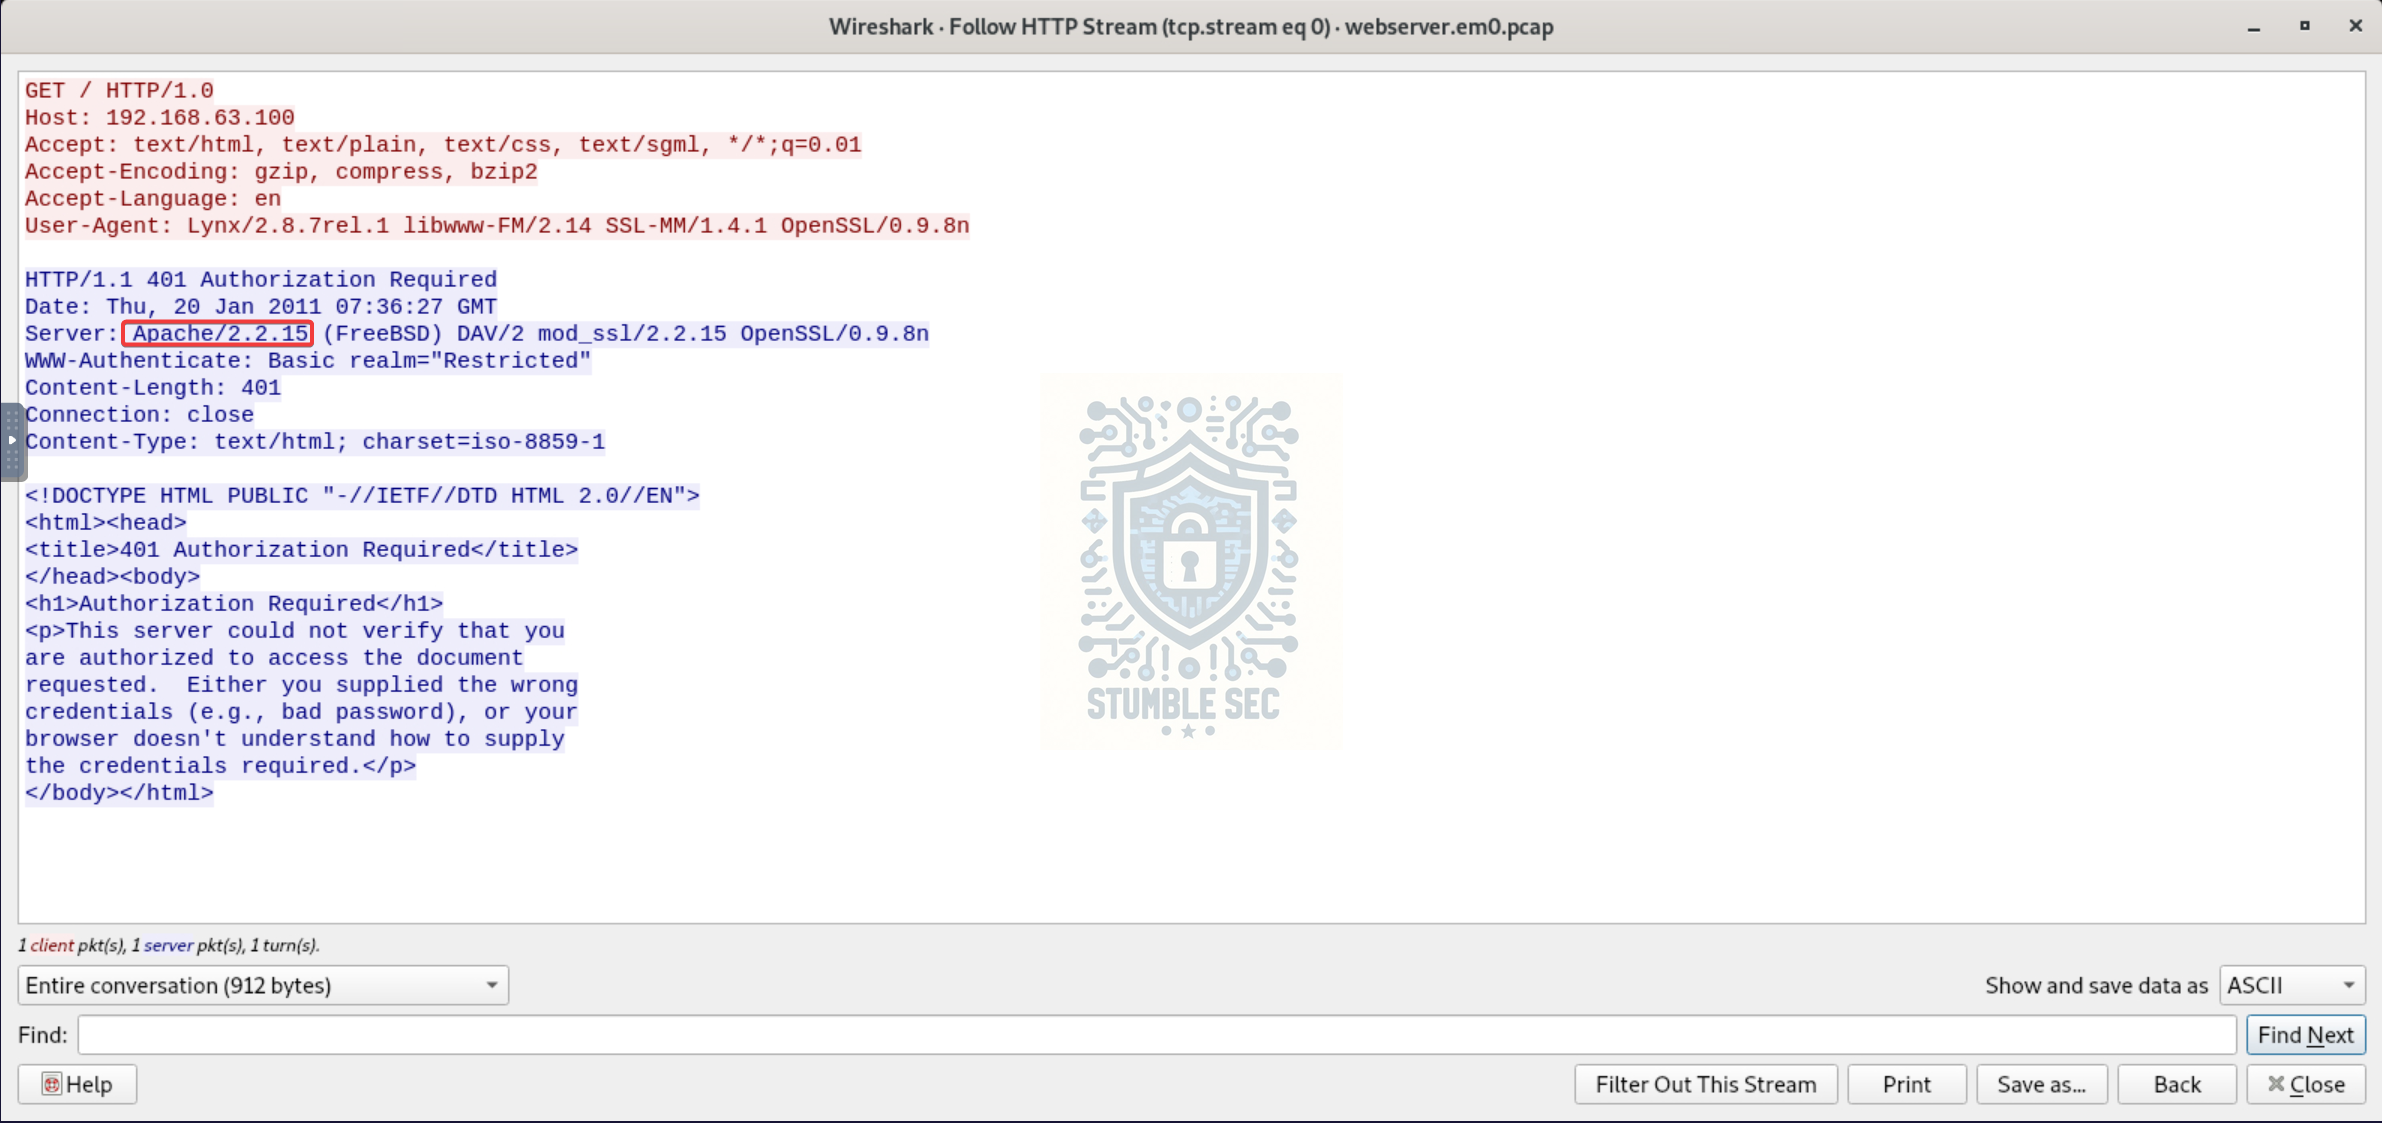 Wireshark: Identifying the web server version in the HTTP stream
The Server header provides the name and version of the web server software and version running on the host.
Questions 4 & 5:
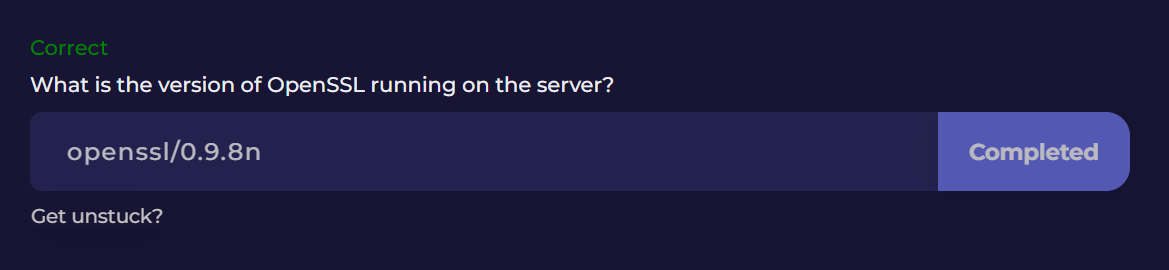
What is the version of OpenSSL running on the server?
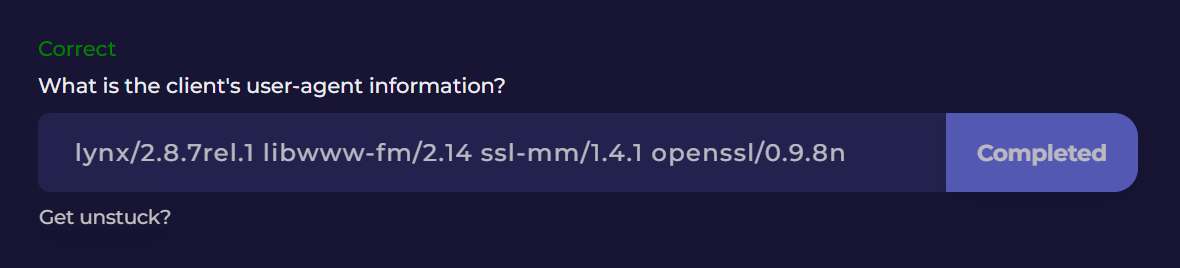
What is the client’s user-agent information?
To answer Questions 4 and 5, we’ll continue gathering information from the HTTP stream.
We can find the reported OpenSSL version on the same Server header line that we examined in the previous questions.
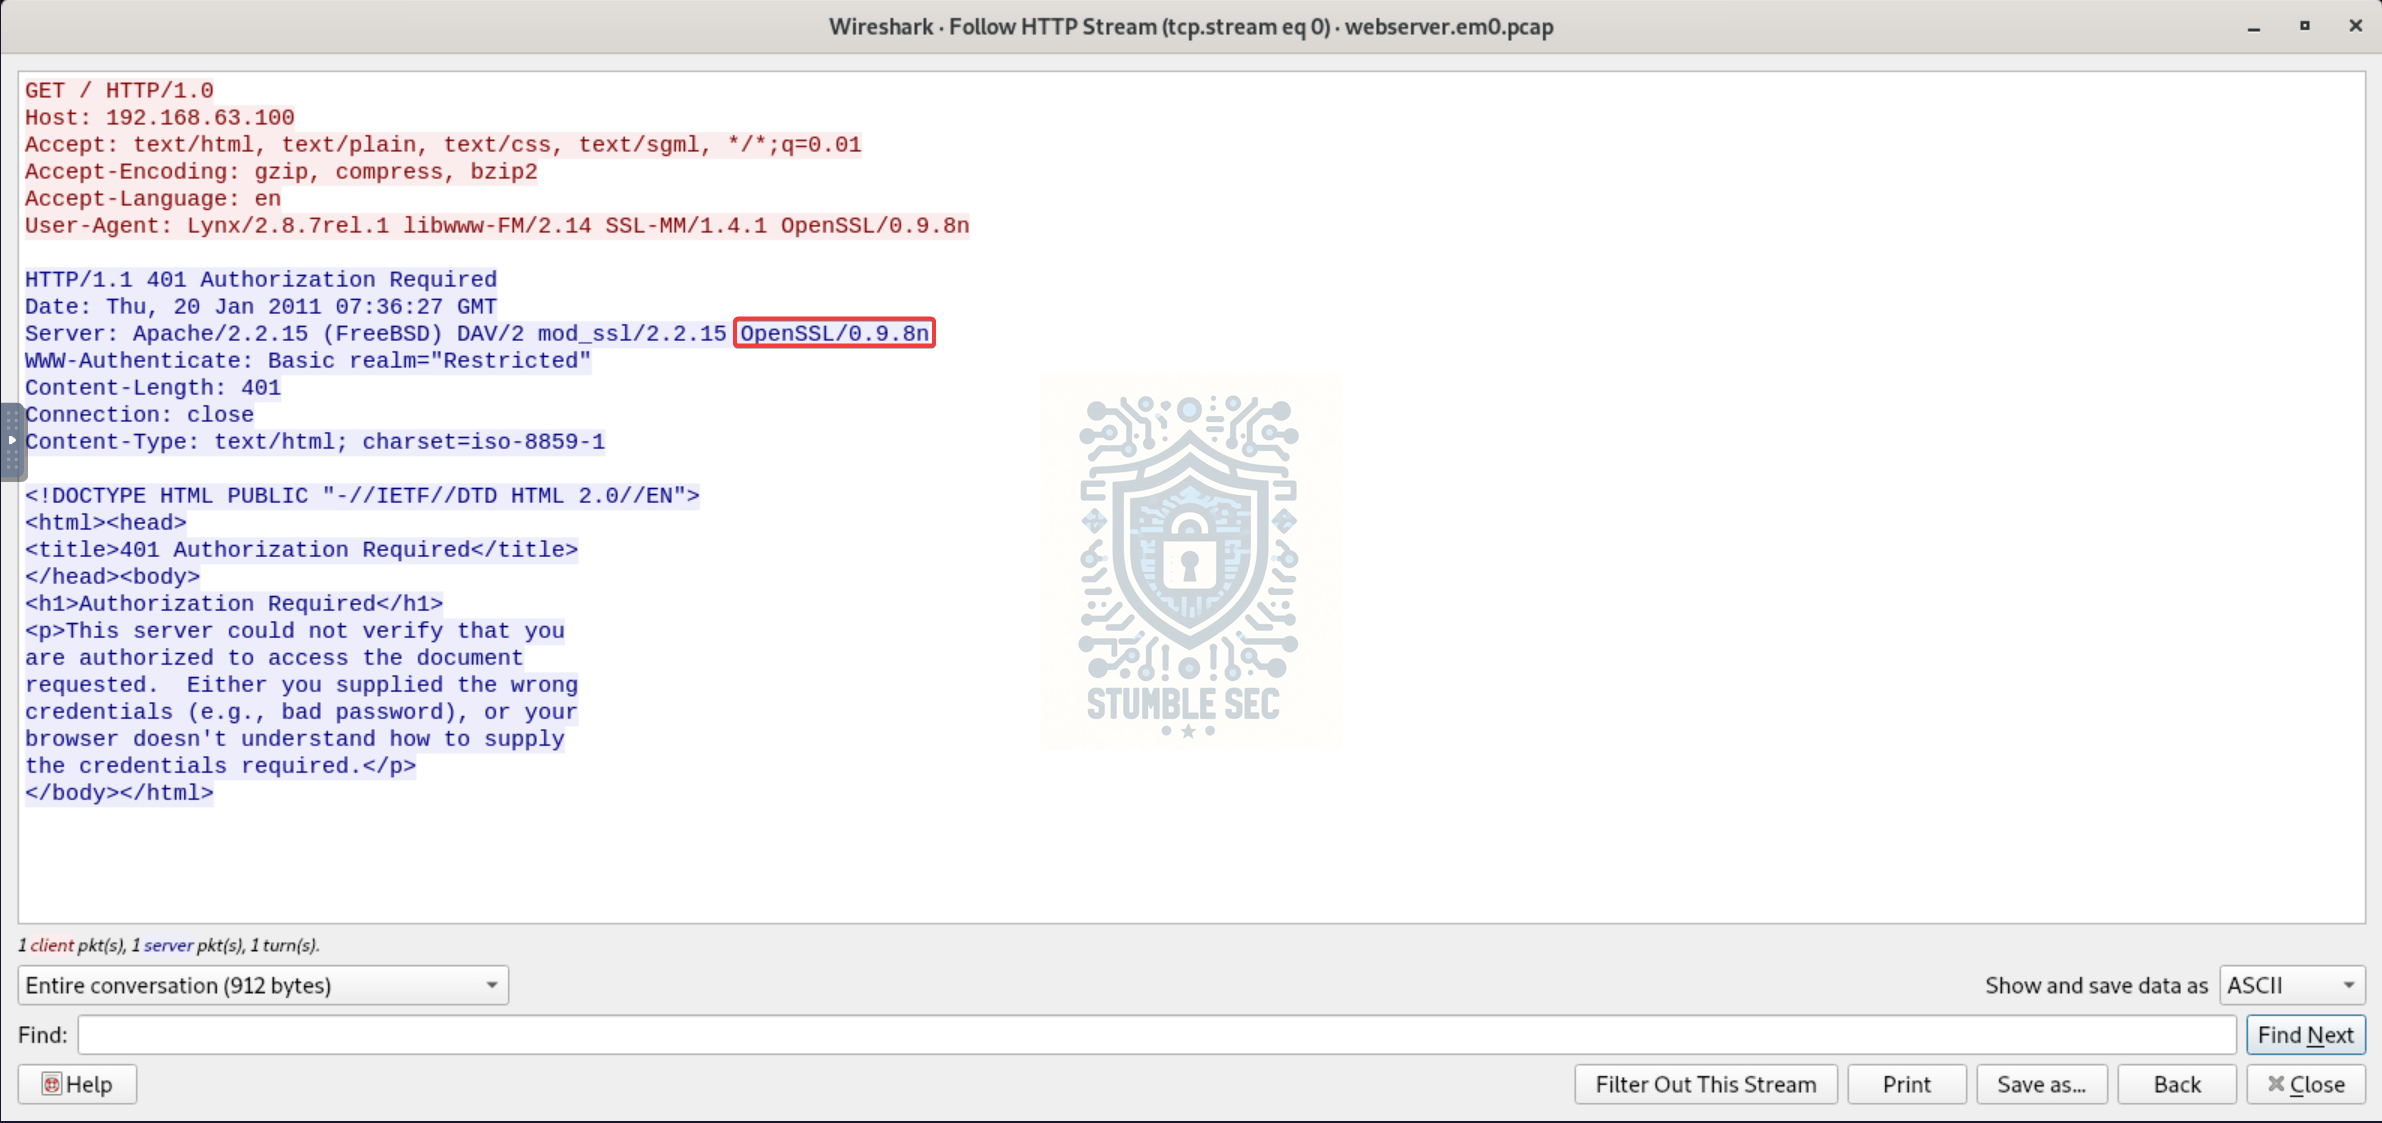 Wireshark: Identifying the OpenSSL version reported in the header
For the requesting client’s user-agent information, we can turn to the User-Agent header.
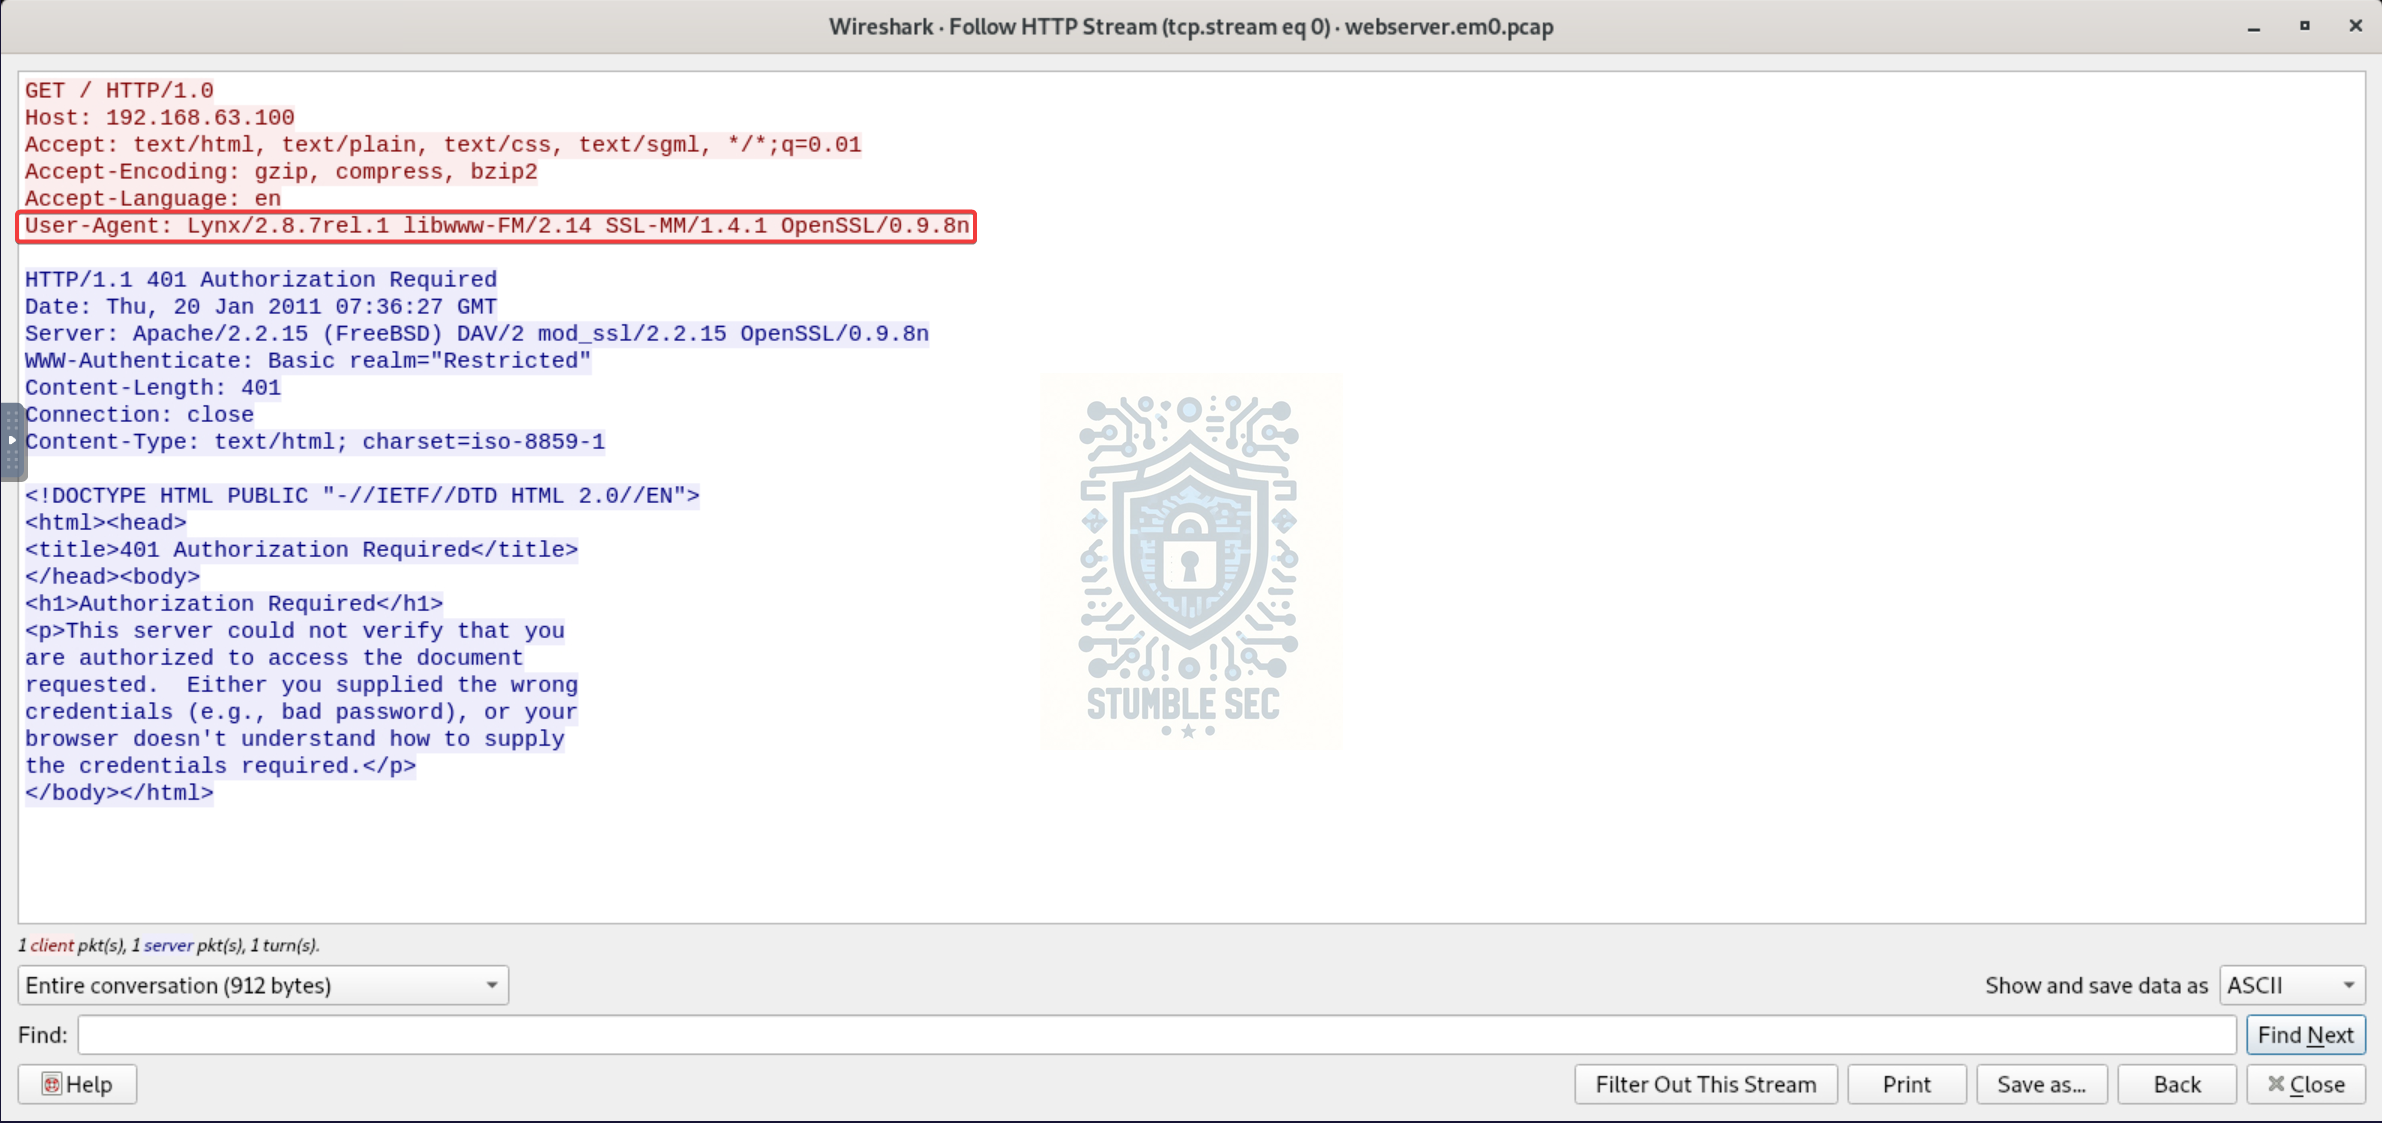 Wireshark: Identifying the User-Agent
User agents can help identify the browser or application that originated a request. While a user-agent string can be spoofed, it can still provide a useful clue when piecing together an attack.
Several online tools can help decode a complex user-agent string and identify the associated client software. For an example, in this case the user-agent string indicates the Lynx browser running on Linux.
Questions 6 & 7:
What is the username used for Basic Authentication?
What is the user password used for Basic Authentication?
Now we can see in the current HTTP stream that the authentication attempt was unsuccessful. The requesting client received a 401 Authorization Required response.
Let’s turn our focus to the WWW-Authenticate header. It contains the value:
Basic realm="Restricted"
This tells us that HTTP Basic Authentication is being used. The 401 response indicates that the request either lacked valid authentication credentials or that the supplied credentials were rejected.
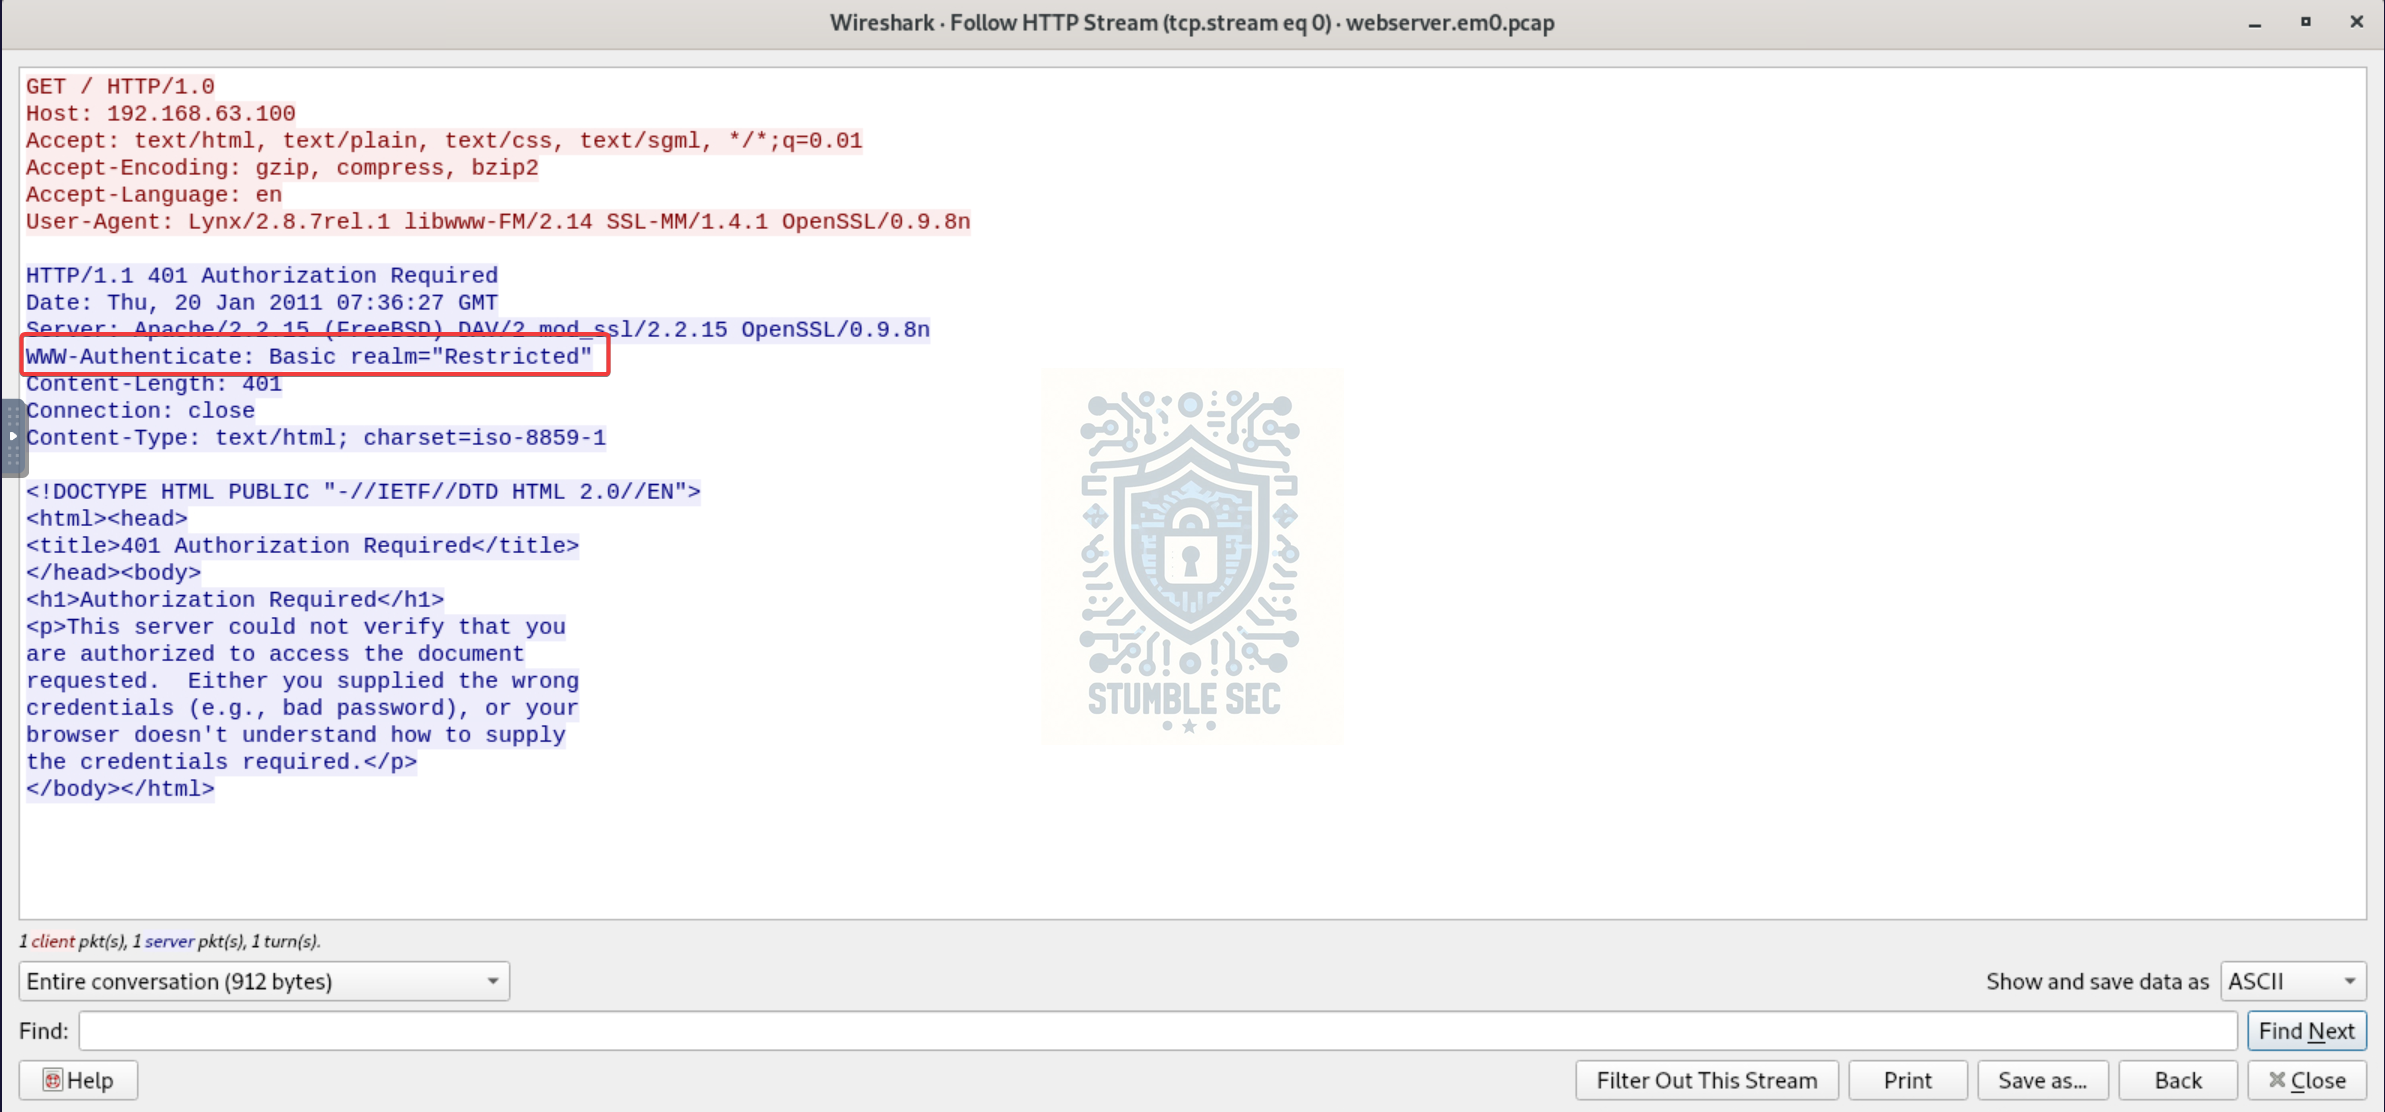 Wireshark: Identifying basic authentication usage
This means the client must provide valid credentials to access the protected resource. With HTTP Basic Authentication, credentials are transmitted as a username:password pair encoded using Base64.
The client then sends another request to the server containing the Base64-encoded credentials in the Authorization header.
For us, this means we’ll need to find the next request containing the Authorization header with the encoded credentials.
Let’s return to our filter:
http.request.method == "GET"
This time, let’s follow the HTTP stream for the next packet in the filtered sequence, packet 21.
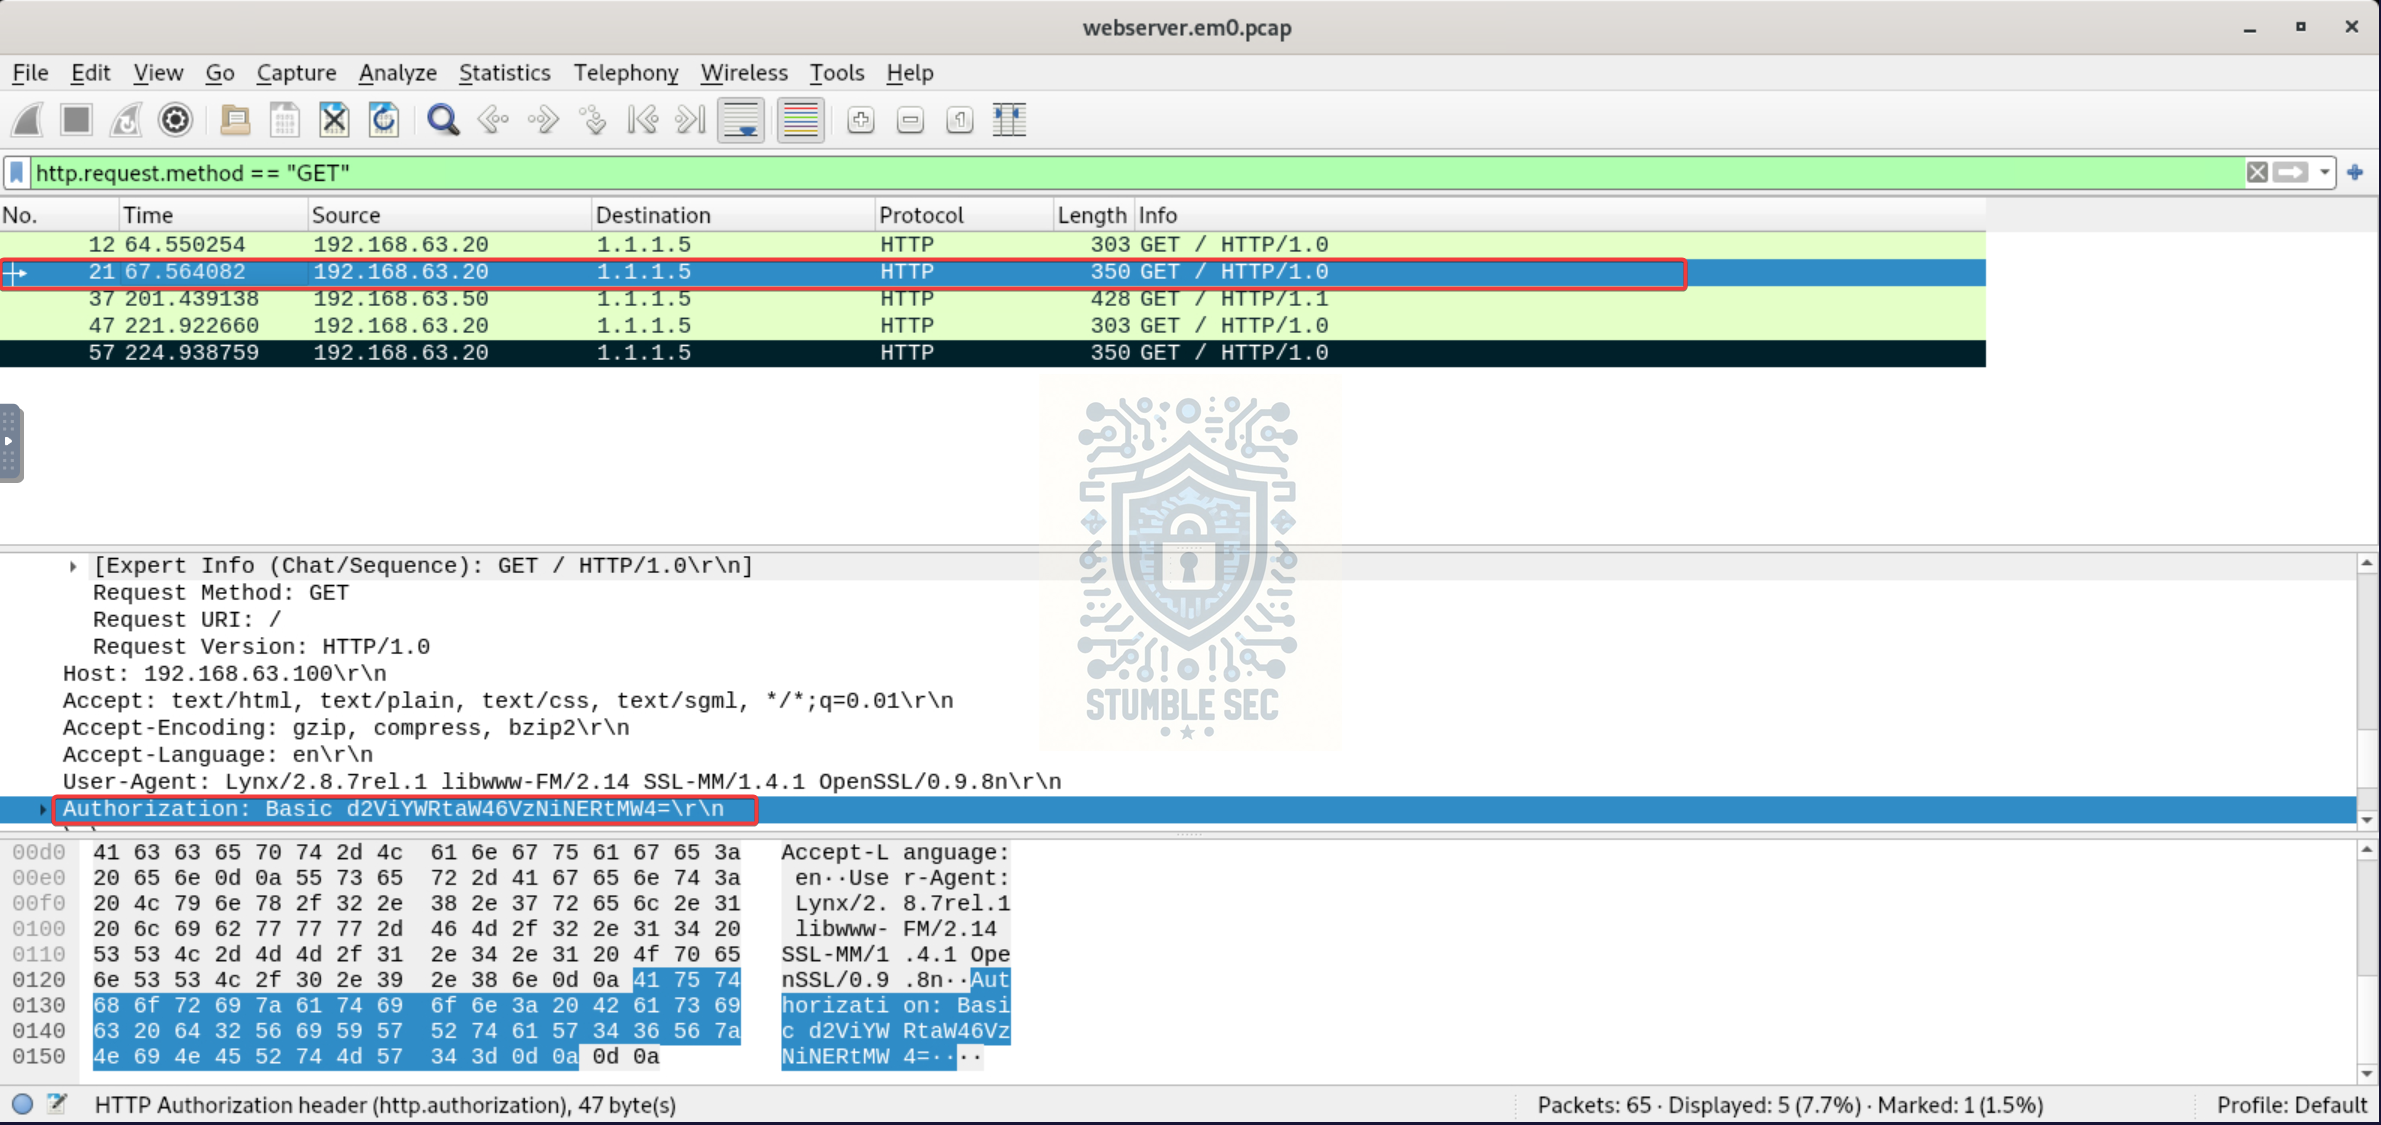 Wireshark: Focusing on the next request in the sequence
Now check it out. We have the Base64-encoded credentials right in front of us and all we need to do is decode them.
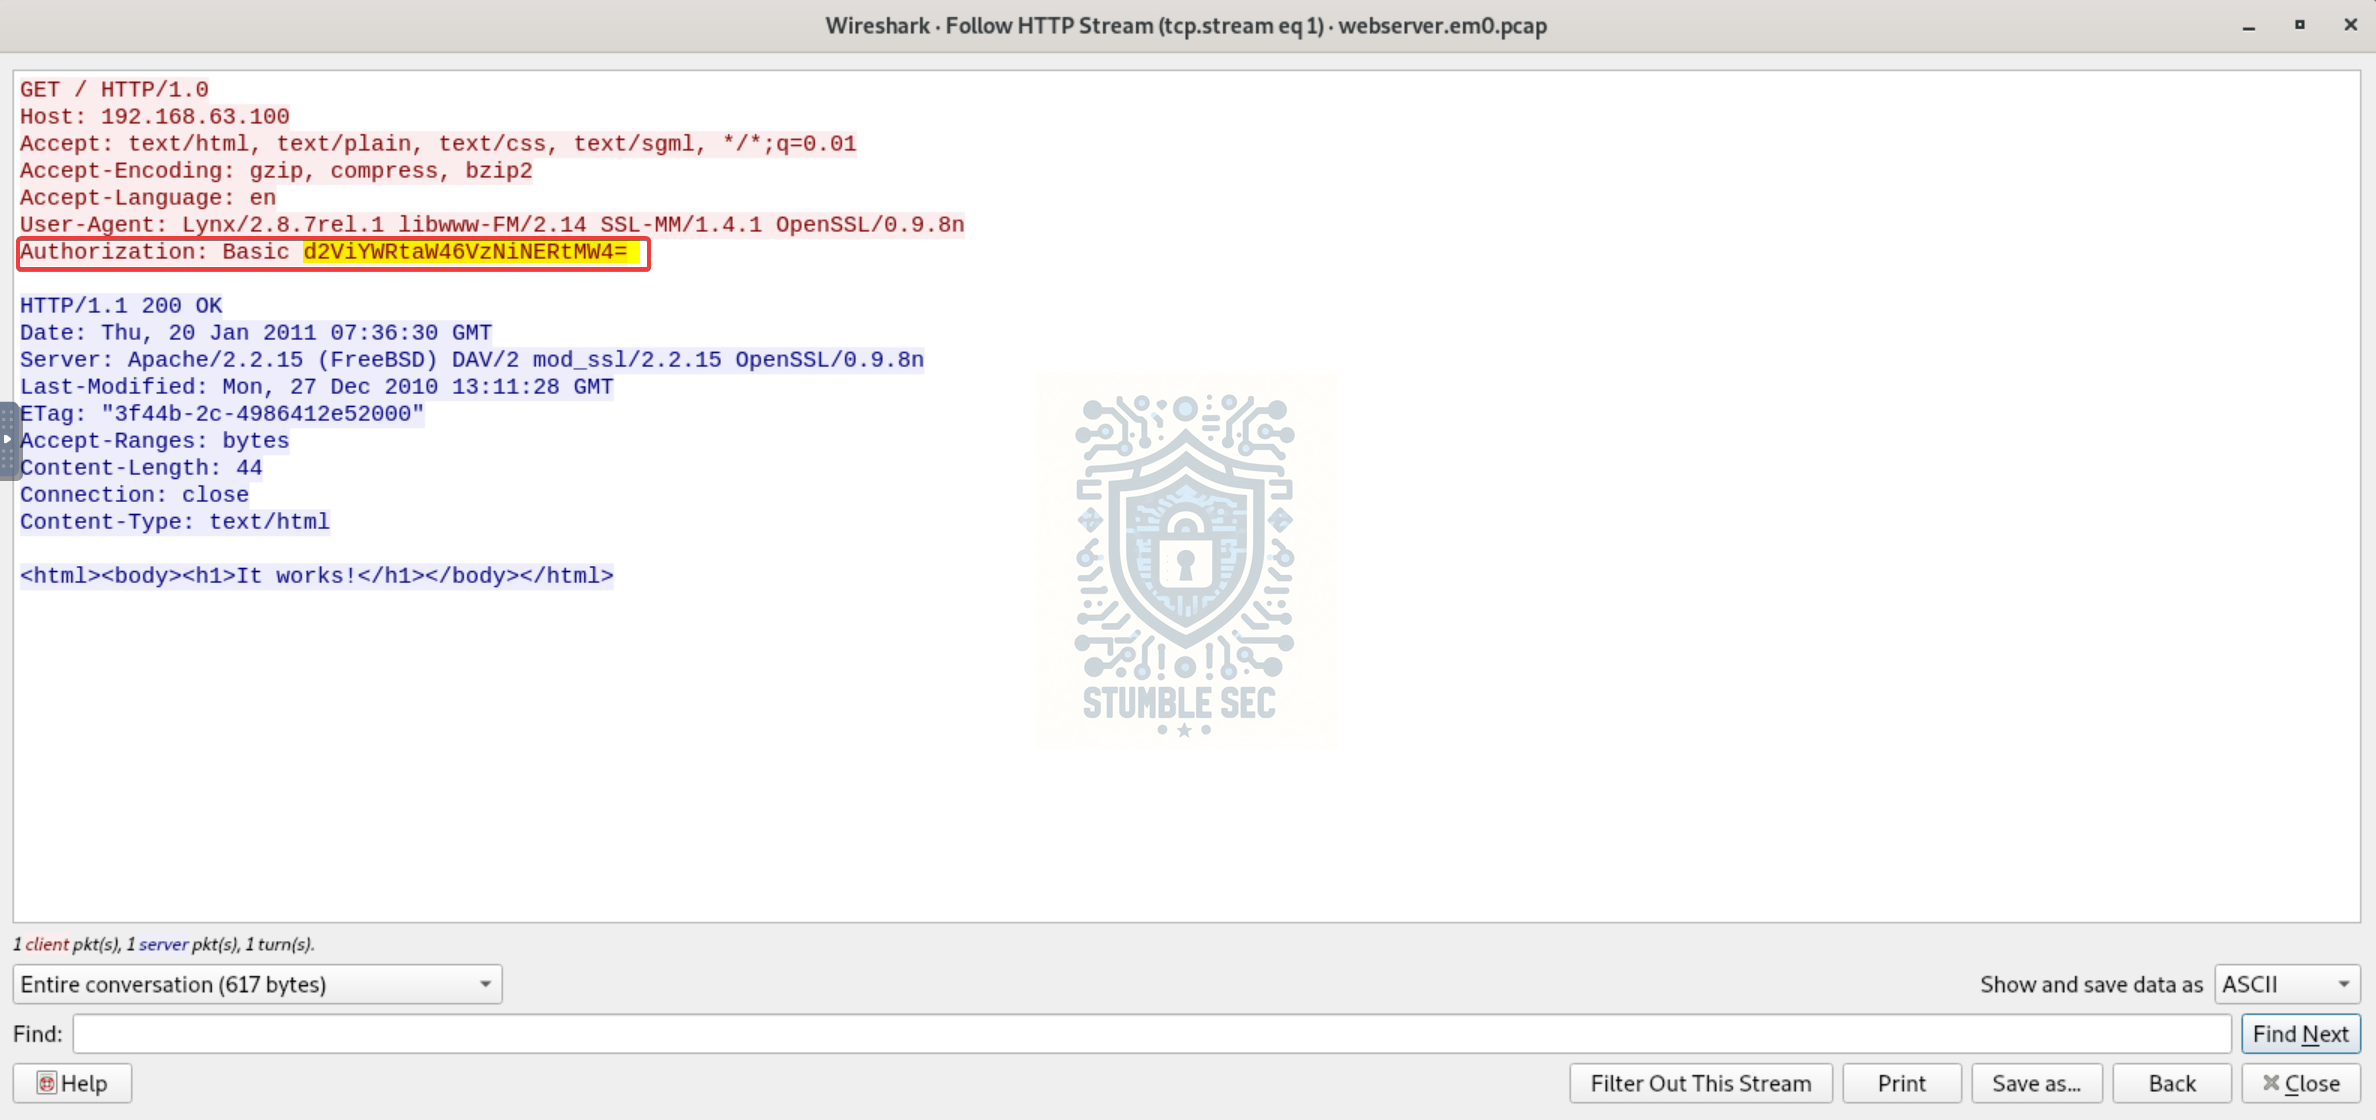 Wireshark: Uncovering the authentication material
Now that we’ve got the string, we simply need to decode it. We can use CyberChef to make quick work of this. Drop the captured string into CyberChef’s input window and add the From Base64 operation to the recipe.
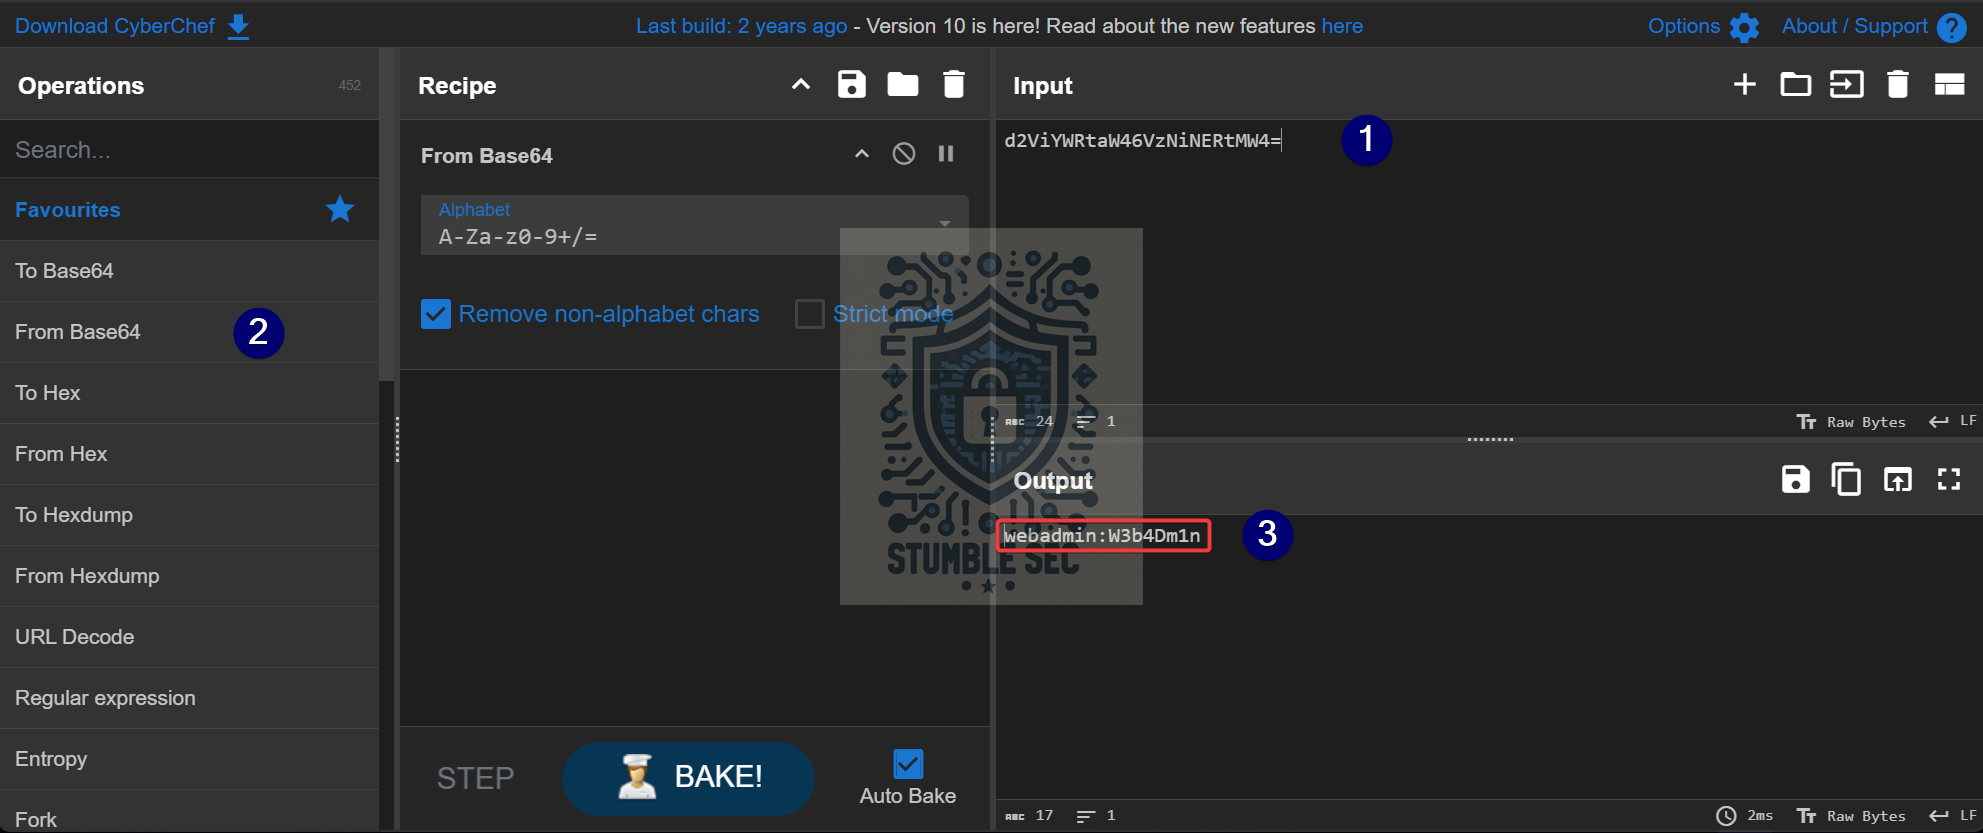 CyberChef: Decoding the Base64 authentication material
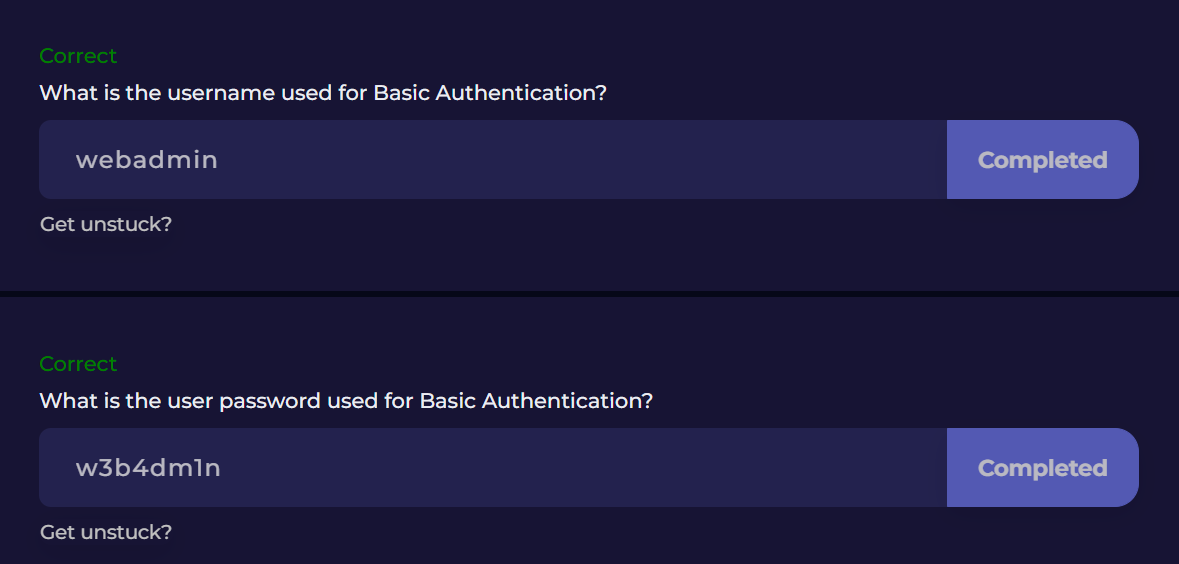
In the output window, we’ll see the decoded credentials in the username:password format. Now we have everything we need to answer both questions and close out this investigation.
Conclusion:

How fun was that! A big thank you to LetsDefend for another awesome challenge.
This week’s challenge gives us an opportunity to work through packet analysis using Wireshark. Starting with a single packet capture file, we identified HTTP GET requests, examined HTTP streams, enumerated information about the server and client, and ultimately recovered the credentials used during HTTP Basic Authentication. While the challenge was straightforward, it provided a great example of how much information can be gathered from network traffic when you know where to look.
I chose this week’s challenge because it gave me a chance to continue sharpening my packet analysis skills while working through a targeted investigation scenario. What made this one interesting for me was that I’d never had the opportunity to investigate HTTP Basic Authentication at the packet level before. I’ve read about it, understood the theory behind it, and encountered it in documentation, but it was cool to see exactly how the authentication process plays out in network traffic and how the authentication material is transmitted between a client and server. Seeing the WWW-Authenticate challenge, the subsequent Authorization header, and the Base64-encoded credentials all come together in the packet capture helped connect the dots in a practical, hands-on way.
Thanks for your support and partnering on this investigation. If you found this walkthrough helpful — please give it a clap and consider following me! Your feedback is invaluable, and it pumps me up to support your security journey. Remember, cybersecurity is a team sport, and we’re in this together!
Until next week’s challenge — stay curious and be safe out there!
Tools & References:
Challenge Link: https://app.letsdefend.io/challenge/http-basic-auth
Wireshark: https://www.wireshark.org/
CyberChef: https://gchq.github.io/CyberChef/